
HOW TO CLEAN YOUR VAPE
May 24, 2023

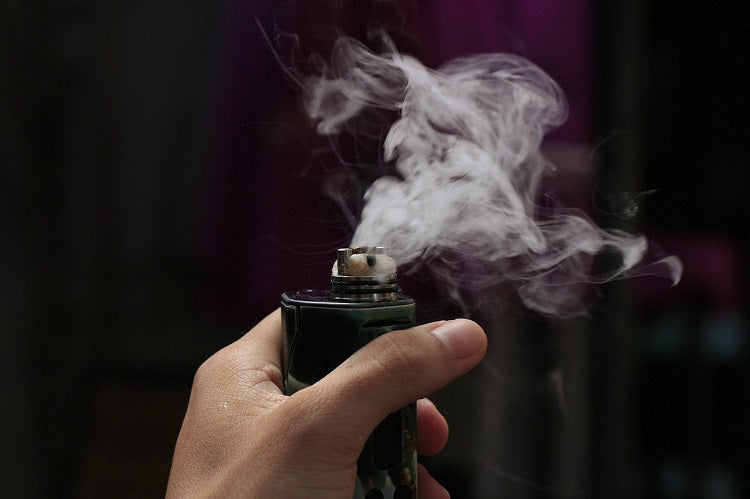
A clean vaporizer can make all the difference in a session. Dirty vapes, dirty coils, and stale mouthpieces will alter the flavour of the vapor, leaving you disappointed and dissatisfied with the experience. Expert vapers will tell you that regular maintenance won’t just enhance the flavour of your hits, but they will help keep the device running at optimal performance levels for much longer than dirty and worn out pieces will. Below we will journey step by step through the cleaning process for a vaporizer.
Supplies:
- Medium bowl
- Rag or paper towel
- Dish soap or isopropyl alcohol
- Cotton swabs
Cleaning Process:
- Disassemble your vaporizer, set battery aside. Remove mouthpiece and toss any remaining e-juice leftover in the tank.
- Detach inner pieces of the tank, like the wick and/or coils. If these pieces need replacing, just toss and set out the new set.
- Put all part in the bowl and rinse each piece with water until clean. If pieces are still greasy or dirty after rinsing, use a bit of dish soap to loosen the grime. Sometimes a 15 to 20-minute soak in soapy water can help you remove the most stuck-on grime.
- For hard to reach areas and performing a deeper clean, use a cotton swab dipped in isopropyl alcohol to wipe down inner and outer surfaces. Don’t forget to wipe the threading on your vaporizer to ensure a tight seal when you fasten it back together. Also do a quick wipe down of the mouthpiece to ensure maximum sanitation.
- Rinse away all dish soap and/or isopropyl alcohol. These products are not meant to be inhaled, so thorough removal is necessary before the next session.
- Pat dry with rag or paper towel.
- Let your device completely air dry before reassembling and using again.